How to Clean Stains from Your Faucet, Shower Heads, and Kitchen Fixtures
Why Cleaning Your Fixtures is Important?
Over time, faucets, showerheads, and kitchen fixtures accumulate stains due to hard water, mineral deposits, soap scum, and rust. These stains can make your bathroom and kitchen look dirty and even affect water flow. Regular cleaning not only improves aesthetics but also enhances the longevity of your fixtures.
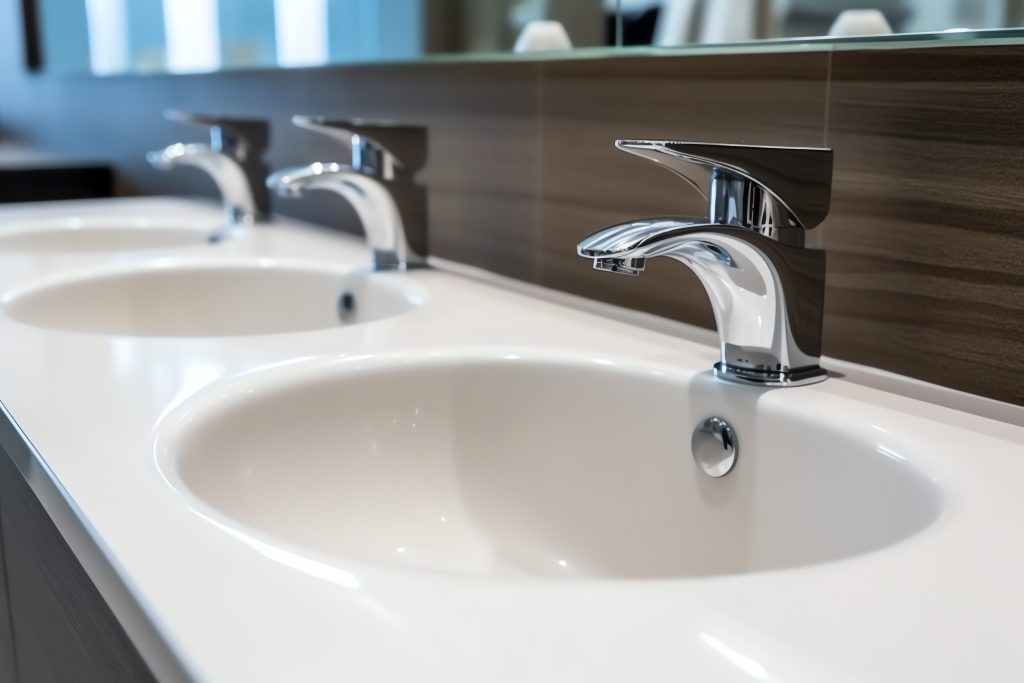
Materials Needed for Cleaning
Before we get started, gather the following materials:
✔ White vinegar (for dissolving mineral deposits)
✔ Baking soda (for scrubbing tough stains)
✔ Lemon juice (for a fresh scent and additional cleaning power)
✔ Dish soap
✔ Toothbrush or small scrubbing brush
✔ Microfiber cloth
✔ Plastic bag and rubber band (for soaking showerheads)
How to Clean Stains from Faucets
Faucets can develop water stains, soap scum, and even mold. Here’s how to clean them effectively:
Step 1: Wipe with Soapy Water
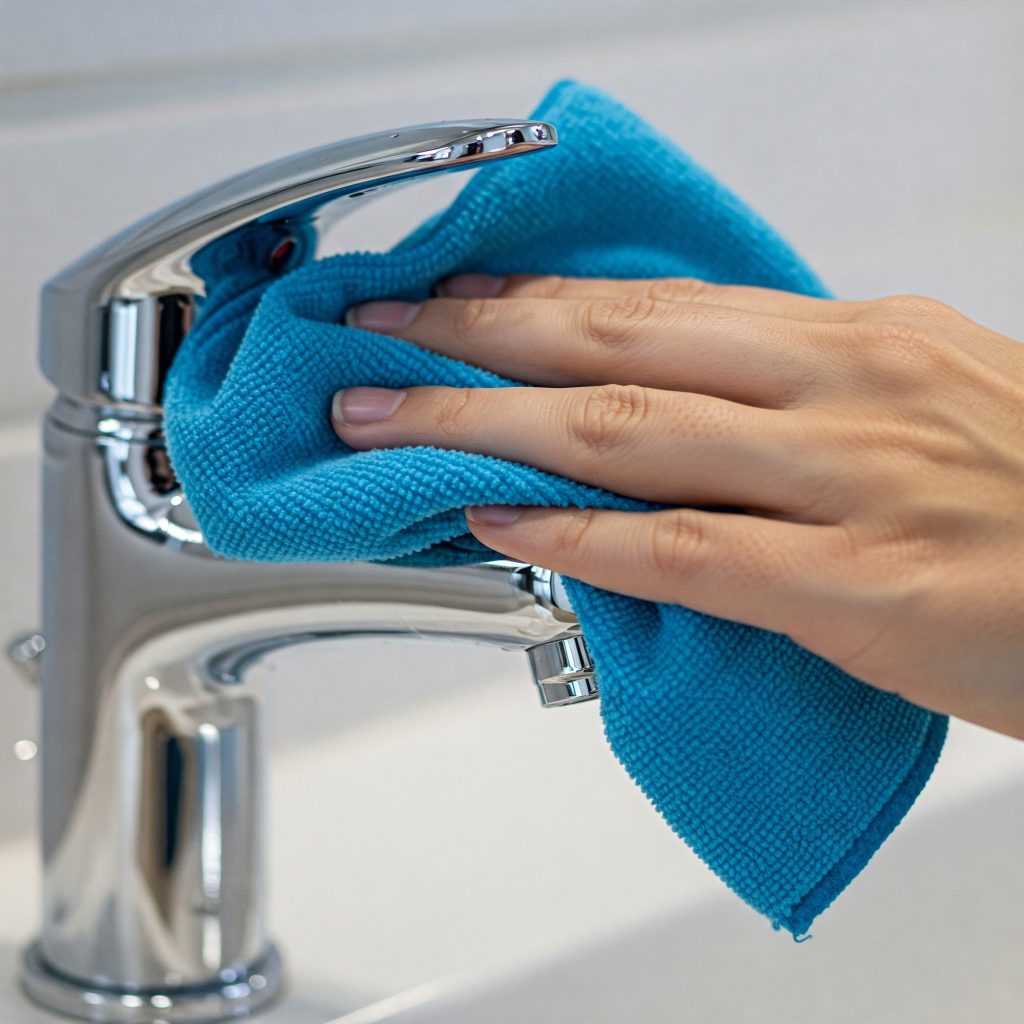
Mix a few drops of dish soap with warm water and use a microfiber cloth to wipe the faucet. This removes surface dirt and grime.
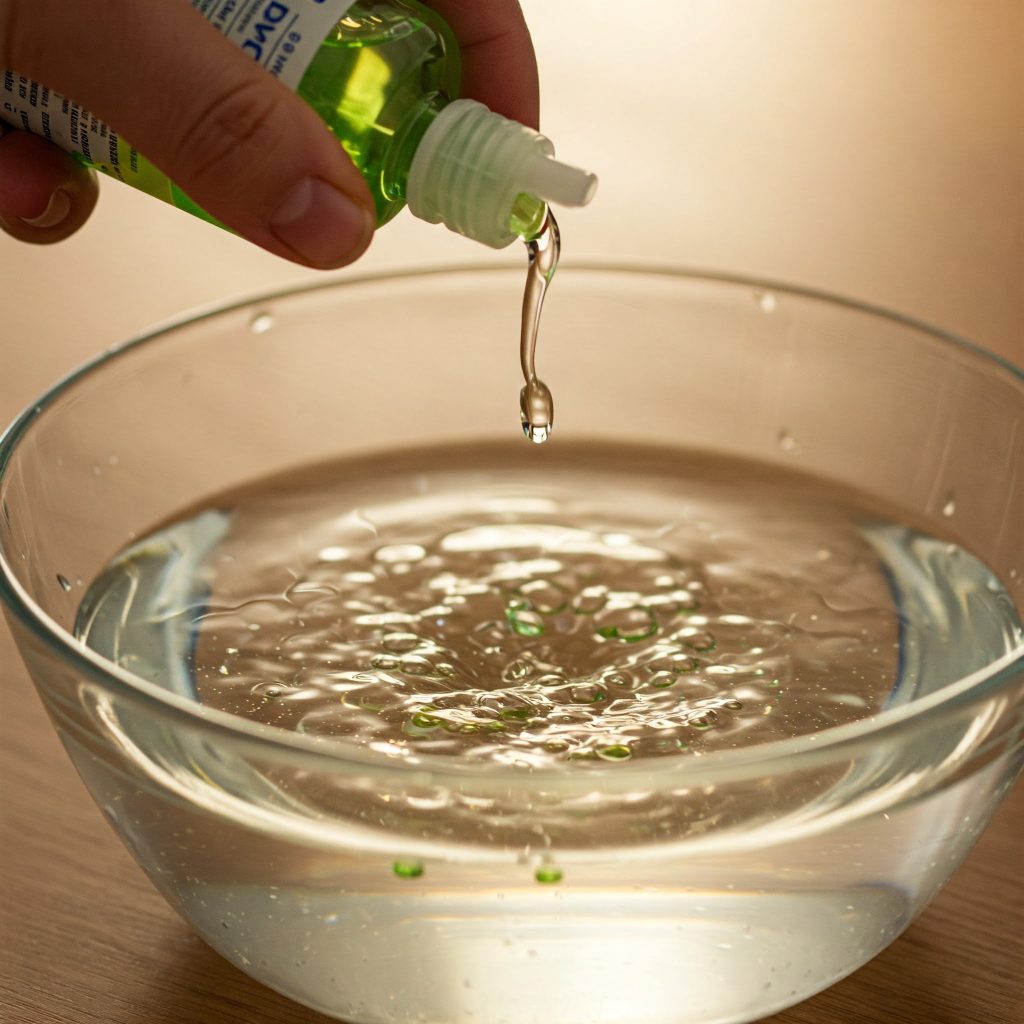
Step 2: Use Vinegar for Hard Water Stains
- Dip a cloth in white vinegar and wrap it around the faucet.
- Let it sit for 15–20 minutes to dissolve mineral deposits.
- Scrub gently with a toothbrush.
Step 3: Apply Baking Soda Paste for Stubborn Stains
- Mix baking soda with a little water to form a paste.
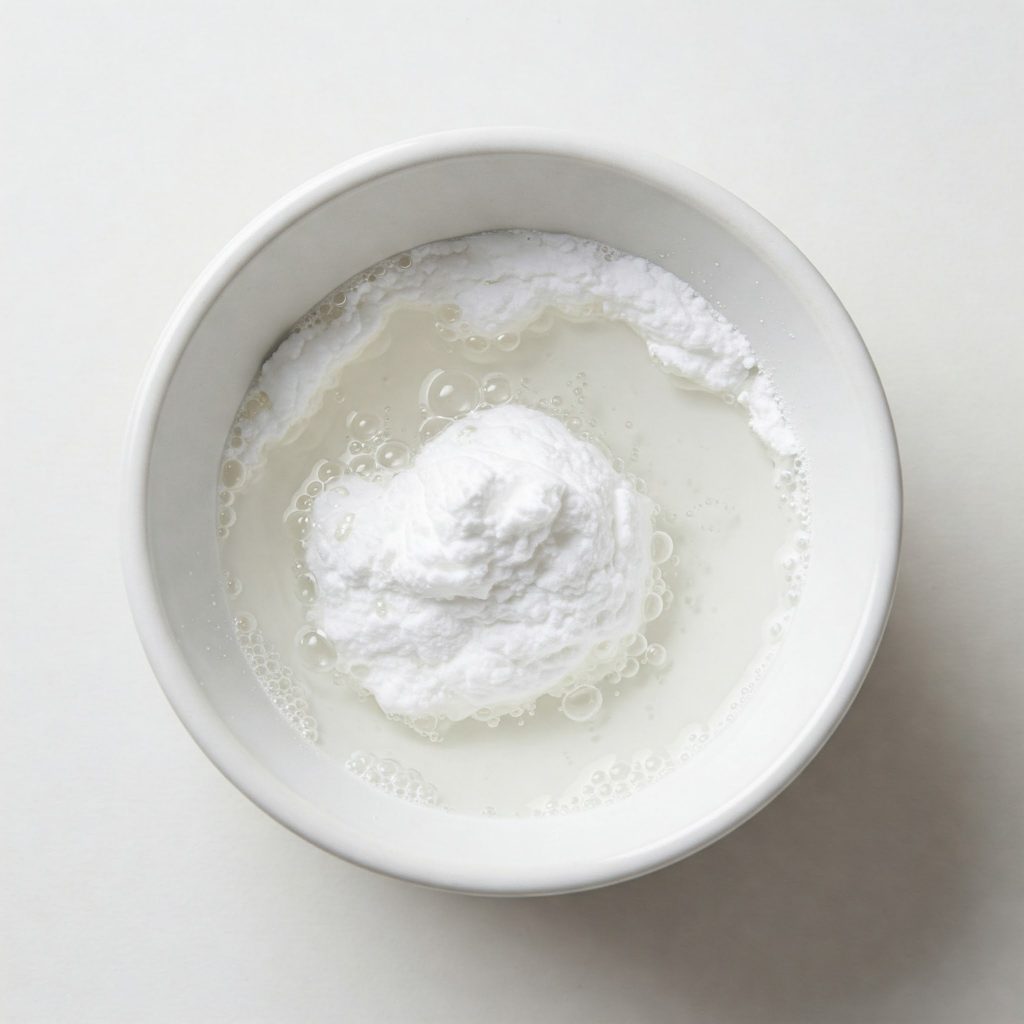
- Apply to stains, let it sit for 5 minutes, then scrub with a brush.
- Rinse thoroughly with water.
Step 4: Polish with Lemon Juice
- Cut a lemon in half and rub it over the faucet.
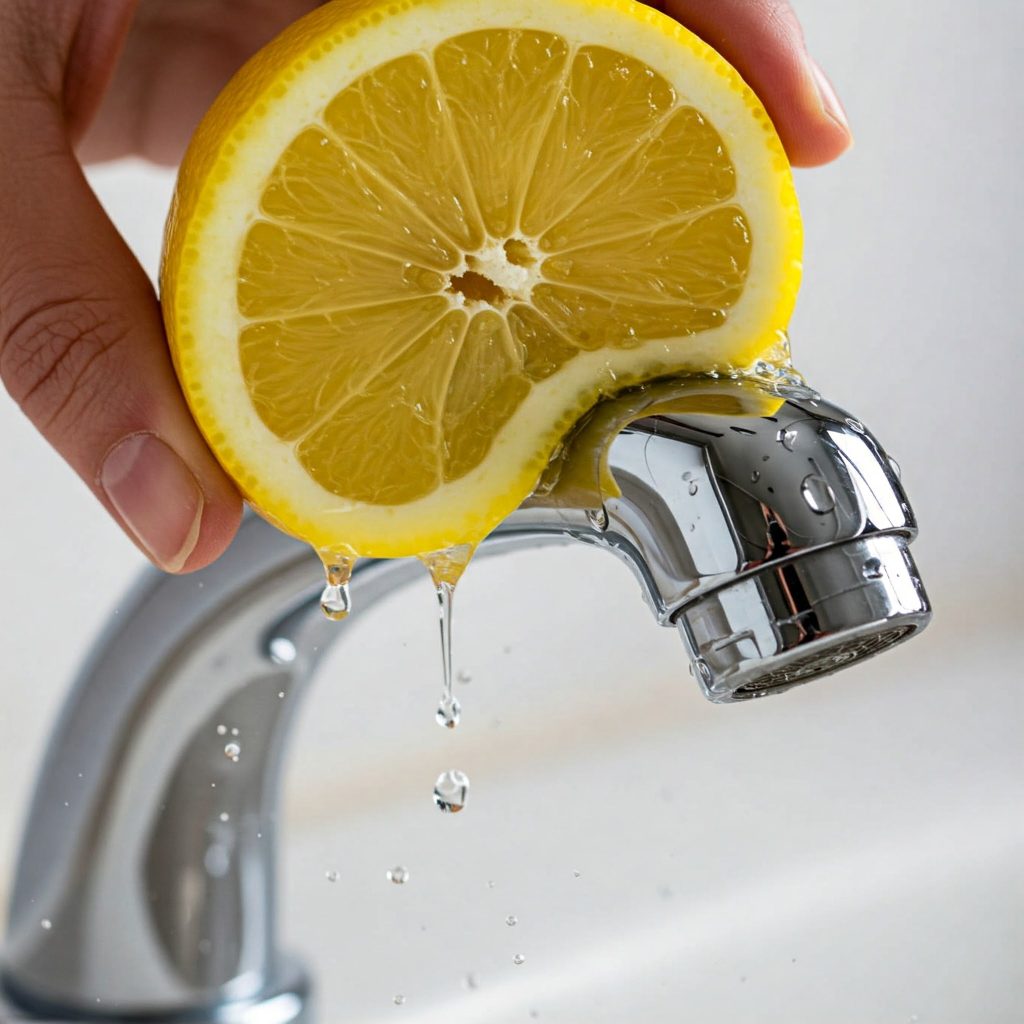
- Wipe with a clean microfiber cloth for a shiny finish.
How to Clean Shower Heads
Mineral deposits can clog your shower head, reducing water pressure. Here’s how to clean it:
Step 1: Remove the Showerhead (Optional)
- If your showerhead is removable, unscrew it and soak it in a bowl of white vinegar for 1–2 hours.
Step 2: Use a Vinegar Bag for Fixed Showerheads
- Fill a plastic bag with vinegar and attach it to the showerhead using a rubber band.
- Let it soak for 30 minutes to 1 hour.
Step 3: Scrub the Nozzles
- Use a toothbrush to scrub the small holes and remove loosened mineral buildup.
- Rinse with warm water and reattach if necessary.
How to Clean Kitchen Fixtures
Kitchen fixtures, including sinks and taps, collect grease, soap scum, and food stains.
Step 1: Degrease with Dish Soap
- Mix warm water with dish soap and wipe down the sink and faucet.
- Use a brush for hard-to-reach spots.
Step 2: Remove Hard Water Stains with Vinegar
- Spray white vinegar on the stains and let it sit for 10 minutes.
- Wipe with a sponge or cloth.
Step 3: Disinfect with Baking Soda & Lemon
- Sprinkle baking soda over the sink.
- Scrub with half a lemon for a natural antibacterial effect.
- Rinse thoroughly.
Frequently Asked Questions (FAQs)
1. How often should I clean my faucets and showerheads?
It’s best to clean them weekly to prevent buildup. Deep cleaning can be done once a month.
2. Can I use bleach instead of vinegar?
Vinegar is a safer and more eco-friendly option. Bleach can damage some finishes.
3. What if my stains won’t come off?
Try a stronger vinegar soak or use a commercial limescale remover.
4. Can I use cola to clean my fixtures?
Yes! The acid in cola can break down rust and mineral deposits. Interesting Video!
5. How do I prevent future stains?
Dry your fixtures after each use and use a water softener if hard water is an issue.
6. Does vinegar damage chrome or stainless steel?
No, but don’t let it sit too long. Rinse and dry to prevent damage.
Final Thoughts
Keeping your faucets, shower heads, and kitchen fixtures clean doesn’t have to be difficult. With simple household ingredients like vinegar, baking soda, and lemon, you can remove stains and restore shine effortlessly.
Try these methods today, and enjoy sparkling-clean fixtures in your home!
Check out our other eco-friendly cleaning tips here!

Leave a Reply